
An oil to gas conversion replaces your oil-fired furnace or boiler with one that runs on natural gas, connects your home to the gas utility, and removes or decommissions the old oil tank. Most conversions follow the same steps, and planning keeps you from going without heat.
Step 1: Confirm Gas Service Is Available
Start by checking whether there’s a gas main on your street. If there is, the utility will need to run a service line to your home and install a meter. Contact the utility early, since scheduling a new service line can take time, especially in fall.
Step 2: Decide What Equipment You Need
Most homes replace their oil equipment with the same type of system on gas:
- Hot water baseboard or radiators: A gas boiler.
- Ductwork and vents: A gas furnace.
Some existing oil boilers and furnaces can be fitted with a gas burner instead of being replaced. This can work for newer equipment in good condition. For older equipment, replacing it with a new high-efficiency gas unit is usually the better long-term choice.
This is also a good time to think about hot water. Many homes with oil boilers heat their water from the boiler. You can keep that setup with a new gas boiler and an indirect water heater, or switch to a separate gas tank or tankless water heater.
Step 3: Plan the Venting
Oil equipment usually vents through a chimney. Gas equipment may vent differently:
- High-efficiency condensing equipment vents through PVC pipe out a side wall, so the chimney isn’t used.
- Standard-efficiency gas equipment may use the chimney, but older masonry chimneys often need a liner to handle gas exhaust safely.
Step 4: Run the Gas Piping
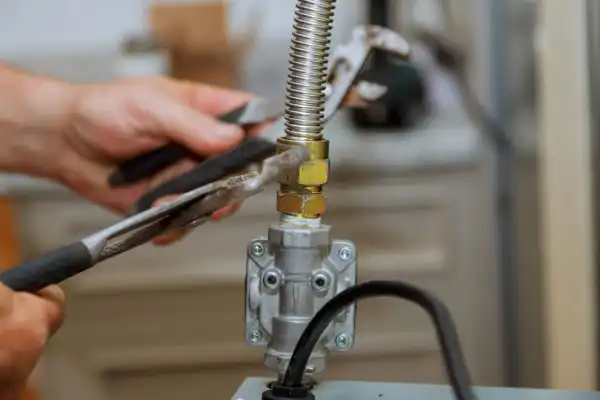
A licensed technician runs gas piping from the meter to the new boiler or furnace and to any other gas appliances you’re adding, such as a range, dryer, or water heater. The piping is sized for everything it will supply, then pressure tested.
Step 5: Install and Start Up
The old oil equipment is removed, and the new system is installed, connected, and started up. We test combustion, venting, and safety controls before handing it over.
Step 6: Deal With the Oil Tank
Once you’re off oil, the tank needs to be removed or properly decommissioned. Indoor basement tanks are usually emptied, cleaned, and removed. Buried tanks have their own requirements, so check with your local municipality.
Timing Your Conversion
The smoothest conversions happen outside the coldest months. If your oil system is still working, schedule the conversion in spring, summer, or early fall so you aren’t without heat while you wait for the gas line.
Talk Through Your Options
Auchinachie Services has helped Binghamton homeowners with heating since 1906. We’ll walk you through the conversion, coordinate the steps, and install the new equipment with upfront pricing. Learn more about our oil to gas conversion services.